Vibrant and mesmerizing with their kaleidoscope of colors, croton plants often steal the spotlight in any room they grace. Known for their bold and striking foliage, these tropical wonders are more than just a pretty face in the plant world. For any plant enthusiast or interior decorator, crotons represent the perfect balance of aesthetic charm and exotic elegance. Yet, the secret to maintaining their dazzling display lies in understanding their unique care requirements. As beautiful as they are temperamental, crotons demand a nurturing touch and a keen eye. Dive into this comprehensive guide to uncover the secrets behind keeping your croton thriving. Whether you’re a seasoned plant parent seeking to expand your knowledge or a beginner eager to master the art of plant care, this guide is your key to unlocking the full potential of these stunning houseplants and ensuring they remain a vibrant centerpiece in your home.
Understanding Your Croton Plant’s Needs
Caring for a croton plant involves a balance of proper lighting, watering, and environmental conditions, making it a rewarding addition to your indoor or outdoor plant collection. Here’s a step-by-step guide on how to care for a croton plant effectively, along with some tips and solutions to common issues you might face.
Light Requirements
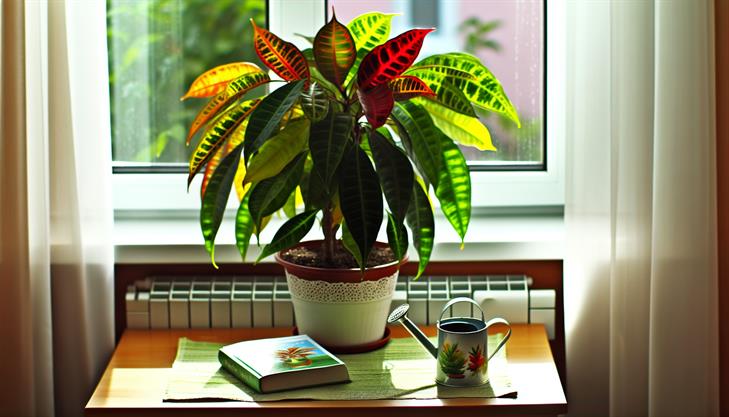
Croton plants thrive in bright, indirect sunlight. Direct sunlight can scorch their vibrant leaves, while insufficient light can lead to less colorful foliage. Position your croton near a window with filtered light, or use sheer curtains to diffuse direct sun.
Watering
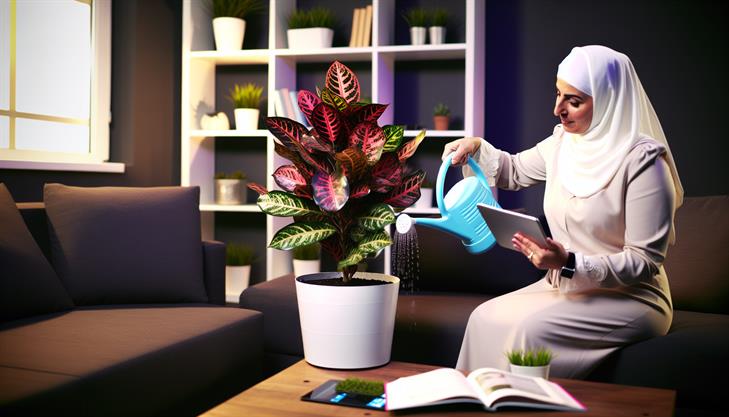
Proper watering is crucial for croton care. These plants like their soil to be consistently moist but not waterlogged. Here’s the watering schedule to follow:
- Check the soil moisture by inserting your finger about an inch deep. Water the plant when the top inch feels dry.
- Avoid overwatering as it can lead to root rot. Ensure the pot has proper drainage holes.
- Mist the leaves occasionally to increase humidity, especially in dry indoor environments.
Temperature and Humidity
Crotons prefer temperatures between 60°F and 85°F (15°C – 29°C). They do not tolerate extreme cold, so keep them away from drafts and sudden temperature changes. High humidity is beneficial; if your home is dry, consider using a humidifier or placing a pebble tray with water near the plant.
Soil and Fertilization
For optimal growth:
- Use a well-draining potting mix, enriched with organic matter. A mix designed for houseplants works well.
- Fertilize every 4-6 weeks during the growing season (spring and summer) with a balanced, water-soluble fertilizer. Reduce feeding in fall and winter as the plant’s growth slows.
Pruning and Maintenance
Regular pruning encourages bushier growth and helps maintain the plant’s shape:
- Trim any dead or damaged leaves.
- Clean leaves with a damp cloth to remove dust and promote photosynthesis.
Common Issues and Solutions
- Leaf Drop: This can occur due to sudden changes in environment or overwatering. Gradually acclimate your croton to any new location and maintain consistent watering.
- Pests: Watch out for common pests like spider mites and scale. Treat infestations with insecticidal soap or neem oil as needed.
- Leaf Curling: Often a sign of low humidity or insufficient watering. Increase humidity levels and ensure proper watering practices.
Additional Tips
- Repotting should be done every 2-3 years or when roots start outgrowing the pot. Choose a container slightly larger than the current one.
- Propagation can be done through stem cuttings. Choose healthy stems, place them in water or soil, and ensure they receive ample indirect light.
By attending to these specific needs, your croton plant can remain healthy and vibrant, adding lush color to your home for years to come. Always monitor for any changes in condition, and adjust your care routine as necessary to suit your croton’s environment.
Step-by-Step Watering and Feeding Tips
Caring for a croton plant involves understanding its specific needs to keep it vibrant and healthy. Crotons are known for their colorful and variegated foliage, making them a popular choice among plant enthusiasts. Here’s a step-by-step guide to help you with watering, feeding, and overall care:
1. Light Requirements
Croton plants thrive in bright, indirect sunlight. Position your plant near a south or west-facing window, where it can receive plenty of light without direct exposure that could scorch its leaves. If the colors of the leaves begin to fade or the plant becomes leggy, this may indicate that it needs more light.
2. Watering Instructions
Proper watering is crucial for croton care:
- Frequency: Water your croton when the top inch of soil feels dry to the touch. This typically means watering once a week, but it may vary depending on the humidity levels and the plant’s environment.
- Method: Water thoroughly, allowing excess water to drain out of the pot’s drainage holes. It’s essential to prevent water from sitting in the saucer to avoid root rot.
- Humidity: Crotons love humidity. To increase humidity, place the pot on a tray filled with pebbles and water, ensuring the pot itself isn’t sitting directly in the water.
3. Feeding Guidelines
Feeding your croton is vital for maintaining its bright foliage:
- Type of Fertilizer: Use a balanced liquid houseplant fertilizer.
- Schedule: Feed the plant every 4-6 weeks during the growing season (spring and summer). Reduce feeding in the fall and avoid fertilizing in winter, as the plant’s growth slows down.
4. Temperature and Humidity
Crotons prefer temperatures between 60-85°F (15-29°C) and enjoy high humidity. Avoid exposing them to temperatures below 55°F (13°C) as cold drafts can damage the plant. To boost humidity, consider using a humidifier or mist the leaves regularly.
5. Pruning and Maintenance
- Pruning: Trim back any dead or damaged leaves to promote healthy growth. You can also prune to shape the plant and encourage bushier growth.
- Cleaning Leaves: Wipe leaves with a damp cloth to remove dust and maintain healthy photosynthesis.
6. Common Issues and Solutions
- Leaf Drop: Sudden leaf drop may result from inconsistent watering, low humidity, or a drastic change in light or temperature. Adjust care routines accordingly.
- Pest Control: Watch out for common pests like spider mites and aphids. Treat infestations with insecticidal soap or neem oil.
7. Repotting Instructions
Repot your croton plant every two to three years or when it becomes root-bound. Select a pot that is one size larger and use a well-draining potting mix. Repot during the growing season to help the plant establish itself quickly.
Proper care for a croton plant ensures vibrant, healthy foliage that can add a splash of color to any space. By following these detailed steps for watering, feeding, and maintaining ideal growth conditions, you can enjoy a thriving croton plant year-round.
How to Optimize Lighting for Vibrant Croton Leaves
Caring for a croton plant delicately balances several factors that contribute to its vibrant, colorful foliage. To ensure crotons thrive, it’s crucial to focus on lighting, watering, soil, and environmental conditions. Here’s a comprehensive guide to mastering croton care:
How to Care for a Croton Plant: Steps to Success
1. Optimize Lighting:
- Ideal Light Conditions: Croton plants bask in bright, indirect sunlight. Place them near an east or west-facing window where they can soak up sufficient light without direct exposure that could scorch their leaves.
- Signs of Insufficient Light: If you notice the colors on the croton plant fading or the leaves dropping, it might be a sign they need more sunlight. Conversely, too much direct sunlight can cause the leaves to burn.
- Adjusting Light Levels: In low-light conditions, consider using grow lights as a supplement to ensure crotons get the recommended light for maintaining their vibrant hues.
2. Proper Watering Techniques:
- Consistent Moisture: Crotons prefer consistently moist soil but can be prone to root rot if waterlogged. Water them when the top inch of soil feels dry to the touch.
- Water Quality: Use room temperature water ideally free of salts or chemicals. Allow the water to sit overnight if necessary to remove chlorine that may affect the plant.
- Common Watering Issues: Overwatering or underwatering can lead to dropping leaves. Maintain a balance by closely monitoring the soil moisture level.
3. Select the Right Soil:
- Well-Draining Mixture: Use a potting mix that allows for good drainage while retaining some moisture. A blend of peat, pine bark, and perlite works well.
- Repotting Instructions: Only repot when necessary, usually every 2-3 years, to add fresh soil and provide space for growth.
4. Maintain Appropriate Humidity:
- Humidity Requirements: Croton plants thrive in high humidity environments. Aim for a humidity level of around 40-60%.
- Increase Indoor Humidity: Use a humidifier or place a tray of water near the plant. Alternatively, mist the croton leaves occasionally to boost humidity levels.
- Optimum Temperature Range: Keep crotons in temperatures between 60°F and 85°F. Avoid cold drafts or sudden temperature drops, which can stress the plant.
6. Fertilization Routine:
- Feeding Schedule: Feed your croton plant a balanced liquid fertilizer every 4-6 weeks during the growing season (spring and summer). Reduce feeding frequency in fall and winter.
7. Common Issues and Solutions:
- Pest Management: Watch for pests like spider mites and aphids. Wipe leaves with a damp cloth or use insecticidal soap if needed.
- Dealing with Leaf Drop: Environmental stress, such as a sudden change in humidity or light, can cause leaf drop. Ensure stable conditions to prevent this.
- Fungal Infections: Avoid wetting the foliage unnecessarily to prevent fungal growth and ensure proper air circulation around the plant.
Additional Advice:
- Pruning Tips: Regularly prune any dead or damaged leaves to encourage growth and maintain aesthetic appeal.
- Seasonal Adjustments: Crotons may require minor adjustments in care as seasons change. Monitor light exposure and adjust the watering schedule accordingly.
- Relocation Stress: If relocating your croton, do it gradually to minimize stress. Observe the plant for any signs of distress and adjust its care as needed.
By adhering to these guidelines, you can enjoy the broad spectrum of vibrant hues that a well-cared-for croton plant can offer. Prioritizing proper lighting, consistent watering, and suitable environmental conditions will keep croton leaves bursting with color year-round.
Pruning and Repotting Your Croton for Healthy Growth
Croton plants, known for their vibrant foliage and striking colors, can be a stunning addition to your home or garden. To ensure they thrive and remain healthy, proper care is essential. Here’s how to care for a croton plant, focusing on effective pruning and repotting techniques to promote growth and vitality.
Understanding Your Croton’s Needs
Light and Temperature: Croton plants flourish in bright, indirect sunlight. Direct sun can burn the leaves, while inadequate light results in dull colors. Aim for room temperatures between 60°F and 85°F, avoiding cold drafts which can cause leaf drop.
Watering and Humidity: Crotons prefer moist soil but are sensitive to overwatering. Water them when the top inch of soil feels dry. Increase humidity levels by misting the leaves, placing a humidifier nearby, or using a pebble tray filled with water.
Pruning Your Croton
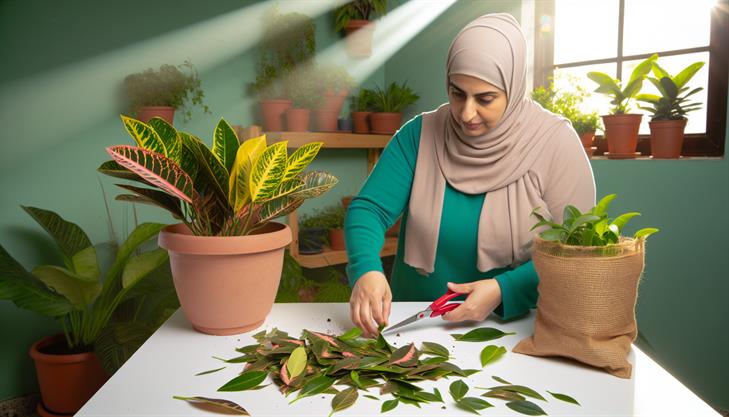
Pruning is vital for maintaining the shape and promoting dense foliage. Here’s a step-by-step guide to pruning your croton for optimal health:
- Identify Branches: Assess your croton for leggy growth or damaged leaves.
- Sterilize Tools: Use clean, sharp pruning shears to prevent disease. An alcohol wipe can help sterilize your tools.
- Cut Off Excess Growth: Trim any leggy branches back to the nearest leaf node (where the leaves grow from the stem) to encourage bushier growth.
- Remove Dead or Diseased Leaves: Cut away any yellowing or browning leaves to prevent pest infestation and disease spread.
- Shape the Plant: Trim strategically to maintain a balanced and aesthetically pleasing shape.
Prune in the growing season (spring or summer) to help the plant recover quickly and foster healthy new growth.
Repotting Your Croton
Crotons benefit from repotting every 2-3 years or when roots appear bound. Follow these steps for successful repotting:
- Choose the Right Pot: Select a pot 1-2 inches larger in diameter than the current container, ensuring it has drainage holes.
- Prepare the Soil: Use a well-draining potting mix, ideally containing peat, perlite, or sand to prevent waterlogging.
- Carefully Remove the Plant: Gently lift the croton from its pot, easing the roots free without excessive pulling to avoid damage.
- Examine and Trim Roots: Check for root rot and prune away any affected areas.
- Replant: Position the croton in the new pot, filling it with soil up to the base of the plant without burying the stem.
- Water Thoroughly: Ensure the soil is evenly moist but not waterlogged to help the plant settle in.
Common Issues and Solutions
- Leaf Drop: Often due to sudden changes in the environment. Ensure stable lighting and temperature.
- Pale Leaves: Typically a sign of inadequate light. Gradually expose the plant to more indirect sunlight.
- Pests: Watch out for spider mites and mealybugs. Regularly inspect leaves, and treat with insecticidal soap or neem oil if necessary.
Additional Care Tips
To further support your croton’s growth, consider occasional feeding using a balanced liquid fertilizer during the growing season. Also, resist the urge to frequently move the plant, as it can stress crotons, making them susceptible to leaf drop.
By following these steps on how to care for a croton plant through proper pruning, repotting, and general maintenance, you can enjoy its vibrant hues and lush growth for years to come.
Troubleshooting Common Croton Plant Problems
Caring for a croton plant can be rewarding due to its vibrant leaves and decorative appeal, but it requires attention to detail. Here’s a comprehensive guide on how to care for a croton plant to ensure it thrives in your home.
-
Optimal Light Conditions: Croton plants thrive in bright, indirect light. Place your plant near an east or west-facing window where it can receive ample sunlight. Direct midday sun can scorch the leaves, while too little light will cause the colors to fade. Adjust the plant’s position if you notice dull or dropping leaves.
-
Watering Requirements: Proper watering is crucial in croton plant care. Ensure the soil remains consistently moist but not waterlogged. Water the plant when the top inch of soil feels dry. It’s best to use room-temperature water to avoid shocking the roots. Over-watering can lead to root rot, a common problem that is marked by yellowing leaves and a mushy stem base.
-
Ideal Humidity and Temperature: Crotons prefer high humidity and temperatures between 60-85°F (15-29°C). To increase humidity, you can mist the leaves regularly, use a humidifier, or place the plant on a pebble tray with water. Keep your croton away from drafts or sudden temperature changes which can cause stress and leaf drop.
-
Soil and Fertilization: Use well-draining potting soil to prevent waterlogging. During the growing season, from spring to early fall, feed your croton every 4-6 weeks with a balanced, water-soluble fertilizer. Avoid fertilizing in the winter when the plant’s growth slows.
-
Repotting and Pruning: Repot the croton plant every 2-3 years or when it becomes root-bound, which is indicated by roots growing out of the drainage holes. In terms of pruning, remove any dead or damaged leaves to maintain the plant’s health and shape. Regularly turning the plant ensures even growth and light distribution.
-
Pest and Disease Management: Crotons can be susceptible to pests like spider mites and scale. Regularly inspect under the leaves and if necessary, clean them with a damp cloth or apply insecticidal soap. Maintaining proper watering and humidity reduces the risk of diseases like powdery mildew and root rot.
-
Common Problems and Solutions:
- Leaf Drop: If your croton is dropping leaves, it could be due to environmental stress such as low humidity, improper watering, or a sudden change in location or temperature. Gradually adapt the plant to new conditions.
- Loss of Color: Faded leaf colors typically indicate insufficient light or nutrient deficiencies. Improve light exposure and consider supplementing with a balanced fertilizer.
- Wilting Leaves: Wilting is often a sign of underwatering or poor drainage. Adjust your watering schedule and check the soil’s drainage capability.
When learning how to care for a croton plant, patience and consistency are key. By providing the right environment and attentive care, your croton plant will continue to grace your home with its stunningly colorful foliage.
In conclusion, caring for a croton plant requires a harmonious balance of attention and understanding. By ensuring your croton receives ample bright, indirect sunlight and maintaining a consistent watering schedule, you’ll help it thrive and showcase its vibrant foliage. Remember to keep the plant’s environment humid and avoid exposing it to temperature extremes, as crotons are sensitive to changes. Regularly dusting its leaves and rotating the plant will promote growth and prevent uneven light exposure, keeping your croton healthy and robust.
Now that you’re equipped with these essential tips, it’s time to put them into practice and watch your croton flourish into the lively centerpiece of your plant collection. As a final tip, consider using a well-draining potting mix and periodically check for pest infestations to address any issues early on. With patience and consistent care, your croton will reward you with its stunning display of colors for years to come.