Imagine transforming a bare patch of your garden into a vibrant carpet of color with minimal effort and a touch of magic—this is the charm of Oxalis bulbs. Known for their enchanting clover-like leaves and delicate blossoms, Oxalis plants are the unsung heroes of garden makeovers, offering both beauty and resilience. Whether you’re a green-thumbed enthusiast or a budding gardener, understanding the art of planting Oxalis bulbs can be your ticket to a stunning, low-maintenance garden. In a world where instant gratification often overshadows nature’s wonders, the simple act of planting these bulbs and watching them flourish can be deeply rewarding. This guide will walk you through the essentials of planting Oxalis bulbs, ensuring you maximize their potential and add an enchanting touch to your outdoor spaces. Ready to embark on a journey that blends ease, elegance, and expertise? Let’s dig in and uncover the secrets to cultivating these captivating blooms.
Selecting the Right Oxalis Bulbs for Your Garden
Planting oxalis bulbs in your garden can introduce vibrant colors and unique foliage that brighten any landscape. Whether you’re an experienced gardener or a beginner, this guide will walk you through how to plant oxalis bulbs successfully. Follow these step-by-step instructions, and soon you’ll be enjoying beautiful oxalis blooms.
Step 1: Choose the Right Bulbs
When selecting oxalis bulbs for planting, ensure you pick healthy bulbs. Look for firm, plump bulbs that are free from mold and soft spots. Depending on the variety, oxalis can produce striking flowers ranging from pinks and purples to yellows and whites. Consider your garden’s color scheme and sunlight conditions to choose the right variety.
Step 2: Determine the Planting Time
Oxalis bulbs can be planted in either the spring or fall. If you want spring blooms, plant your bulbs in the early fall. For summer flowers, it’s best to plant in the spring as soon as the danger of frost has passed. In milder climates, planting oxalis bulbs during the fall can give them a longer growing season.
Step 3: Select the Ideal Location
Oxalis thrives in well-drained soil with partial to full sunlight. Choose a location that receives light morning sun and shaded afternoons. They can be planted in flower beds, borders, or even pots. Enhancing your soil with organic compost can improve drainage and provide essential nutrients.
Step 4: Prepare the Soil
Start by clearing the area of weeds and debris. Loosen the soil to a depth of about 6 inches, then mix in compost or well-rotted manure to enhance soil fertility. Well-draining soil helps prevent common problems such as bulb rot, which can occur if the planting site retains too much moisture.
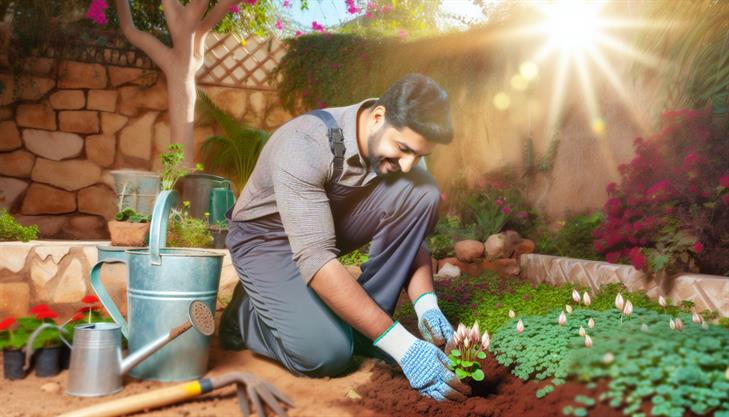
Step 5: Planting the Bulbs
Dig holes that are about 1 to 1.5 inches deep, with each hole spaced around 3 to 4 inches apart. Place each oxalis bulb in the hole with the pointed side up, then cover with soil. Gently firm the soil over the bulbs and water lightly to settle the soil.
Step 6: Water and Care
After planting, water the bulbs lightly but regularly, keeping the soil moist but not waterlogged. Oxalis is relatively drought-tolerant once established, so adjust watering based on rainfall and soil moisture. Avoid overwatering, as this can lead to rot and other issues.
Step 7: Monitor Growth and Maintain
As the plants grow, you may need to thin them out if they become too dense, which can promote good air circulation and reduce the risk of mildew and rot. Throughout the growing season, remove spent flowers to encourage continued blooming and cut back foliage after it dies back naturally to prepare the plant for dormancy.
Troubleshooting Common Problems
Oxalis is generally low-maintenance, but watch for pests such as aphids or spider mites. These can be managed by rinsing with water or using insecticidal soap. If your oxalis isn’t blooming, it might be due to insufficient sunlight or overcrowding, so consider adjusting their position or spacing.
With these steps on how to plant oxalis bulbs, you can look forward to a flourishing garden filled with cheerful blooms. Taking the time to prepare properly and maintain your plants will result in a rewarding gardening experience.
Preparing Your Soil and Planting Site
Planting oxalis bulbs can be a rewarding gardening project, as these plants are known for their attractive foliage and vibrant blooms. To ensure a successful planting experience, it’s important to properly prepare your soil and planting site. Here’s a concise guide to help you plant oxalis bulbs effectively.
Selecting the Right Time and Location
Oxalis, commonly known as wood sorrel or shamrock plants, thrive in well-drained soil and can flourish in either full sun or partial shade. The best time to plant oxalis bulbs is in spring or late fall, when the temperatures are moderate. Begin by choosing a location that receives adequate sunlight and offers good drainage.
Preparing Your Soil
-
Soil Testing: Start by testing your soil’s pH as oxalis prefers slightly acidic to neutral soil (pH between 5.5 and 7). You can purchase a simple soil testing kit to determine this.
-
Amendments: If your soil is too alkaline, consider adding compost or peat moss to lower the pH. For clay-heavy soil, integrate sand or fine grit to improve drainage.
-
Loosening the Soil: Use a garden fork or tiller to loosen the soil to a depth of 12-15 inches. This helps in aerating the soil and making it easier for the bulbs to establish roots.
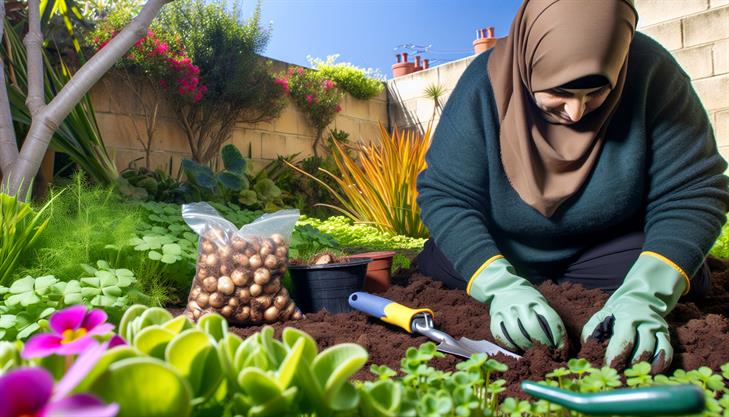
Planting Oxalis Bulbs
-
Depth and Spacing: Dig holes that are about 1-1.5 inches deep. Space the bulbs approximately 3-4 inches apart to allow each plant room to grow without crowding.
-
Positioning the Bulb: Place each oxalis bulb in the hole with the pointed end facing upward. This orientation helps the plant sprout correctly.
-
Covering and Watering: Gently cover the bulbs with soil, patting lightly to remove any air pockets. Water the planting area thoroughly to establish moisture, which aids in bulb rooting.
Post-Planting Care
-
Watering: Once planted, ensure the soil remains moist but not soggy. Overwatering can lead to bulb rot, which is a common issue with oxalis.
-
Mulching: Applying a layer of mulch can help retain soil moisture and protect the bulbs from temperature extremes, encouraging healthy growth.
-
Fertilizing: Use a balanced, slow-release fertilizer in early spring after the last frost, and again in mid-summer if desired. Avoid over-fertilizing, as this can cause leggy growth and fewer blooms.
Addressing Common Issues
Oxalis can occasionally suffer from pests such as aphids or spider mites. Regularly inspect plants and handle infestations early with insecticidal soap or neem oil. Minimize fungal diseases by ensuring plants have good air circulation and are not overly watered.
Overall, by following these steps on how to plant oxalis bulbs, you can enjoy a lush, colorful addition to your garden. With a bit of preparation and care, your oxalis plants are sure to thrive and bring beauty to your outdoor space.
Step-by-Step Planting Guide for Oxalis Bulbs
Planting oxalis bulbs is a rewarding process that adds vibrant color and texture to any garden with minimal effort. These small ornamental plants, known for their shamrock-like leaves and delicate flowers, are suitable for both indoor and outdoor spaces. Here’s a detailed, step-by-step guide on how to plant oxalis bulbs to help you achieve the best results.
Step 1: Selecting Your Oxalis Bulbs
Choose healthy oxalis bulbs to ensure strong plant growth. Look for firm bulbs without signs of mold or rot. Buying from reputable garden centers or nurseries increases the likelihood of receiving high-quality bulbs.
Step 2: Ideal Planting Time
For optimal growth, plant oxalis bulbs in early spring or fall. This timing ensures they receive the right amount of sunlight and temperatures are conducive to root development. If you’re planting them indoors, timing is more flexible; just ensure they have adequate light and climate conditions.
Step 3: Choosing the Right Location
Oxalis thrive in well-lit areas but avoid direct, harsh sunlight, which can damage the leaves. If planting outdoors, choose a location with dappled sunlight or partial shade. Indoors, a sunny window is ideal, but you might need to diffuse the light with a curtain.
Step 4: Preparing the Soil
Oxalis prefer well-draining soil to prevent bulb rot. If your garden soil is heavy or clay-like, mix in some sand or compost to improve drainage. For pots, use a light potting mix with added perlite or sand.
Step 5: Planting the Bulbs
-
Digging the Hole: For outdoor planting, dig holes about 1-2 inches deep. If using a pot, ensure it has drainage holes and fill it with prepared soil leaving enough space for the bulbs.
-
Spacing: Place the bulbs with the pointed end up, spacing them about 3 inches apart. This spacing allows the plants room to grow and spread.
-
Covering the Bulbs: Gently cover the bulbs with soil, firming it slightly to remove air pockets.
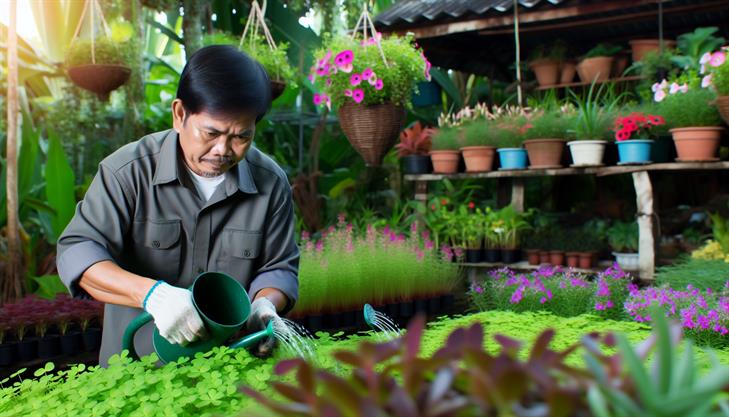
Step 6: Watering
Water the bulbs lightly after planting. Consistent moisture is key during the growing season, but be cautious not to overwater. The soil should remain slightly damp but not soggy, as excessive moisture can cause bulb rot.
Step 7: Caring for Oxalis
- Fertilization: Apply a balanced, water-soluble fertilizer every few weeks during the growing season to encourage robust growth.
- Maintenance: Regularly remove any dead leaves or faded flowers to promote new growth and maintain plant health.
Common Issues and Additional Tips
- Dormancy: Oxalis naturally goes dormant, usually in summer if the temperatures are high. This is normal; simply reduce watering and allow the leaves to die back. Resume watering when new growth appears.
- Pests: Watch for signs of aphids or spider mites if growing indoors. These can typically be managed with insecticidal soap or neem oil.
- Potting Tip: If growing indoors, consider repotting every couple of years to refresh the soil and check for crowded bulbs.
By following these steps, you’ll be well on your way to successfully growing oxalis bulbs. With proper care, these charming plants will brighten your space for years to come. Whether in your garden or on your windowsill, understanding how to plant oxalis bulbs can enhance any green space.
Caring for Your Oxalis Plants Throughout the Seasons
Planting oxalis bulbs can be a rewarding experience, adding vibrant colors and unique textures to your garden throughout the year. Known for their distinctive clover-like leaves and charming blooms, oxalis plants are a favorite among gardeners. To ensure your oxalis plants thrive, follow these simple steps to plant oxalis bulbs correctly, and keep in mind additional tips to effectively care for them across different seasons.
Step-by-Step Guide to Planting Oxalis Bulbs
1. Choose the Right Location:
- Sunlight: Oxalis can tolerate various light conditions, but most varieties perform best with partial to full sun. Ensure the location receives enough sunlight, especially in cooler climates.
- Soil: Well-drained soil is essential. Oxalis bulbs do not like to sit in water, which can lead to rot. If you have heavy, clay soil, consider amending it with sand or organic matter to improve drainage.
2. Timing Your Planting:
- The best time to plant oxalis bulbs is during late summer to early fall. This allows them sufficient time to establish before the cold sets in, ensuring a stronger spring bloom.
3. Prepare the Planting Area:
- Clear the area of weeds and debris. Loosen the soil to a depth of about 6 inches. Mixing in some all-purpose fertilizer or compost is beneficial, offering the bulbs a nutrient-rich start.
4. Plant the Bulbs:
- Depth and Spacing: Plant oxalis bulbs about 1 to 2 inches deep with the pointed end facing up. Space them approximately 3 to 4 inches apart to allow for growth.
- Orientation: If you’re uncertain about which end is the top, oxalis bulbs can still sprout when laid on their side. However, accuracy helps ensure better root development and quicker blooming.
5. Watering:
- Thoroughly water the bulbs after planting to help the soil settle around them. While oxalis plants require moderate watering, it is crucial to avoid waterlogging. Well-drained soil is your plant’s best defense against rotting.
Caring for Oxalis Plants Throughout the Seasons
Spring and Summer:
- Your oxalis should begin showing signs of life in the spring, producing lush leaves and cheerful flowers. Throughout spring and summer, maintain even moisture, but allow the top inch of soil to dry between waterings.
Fall and Winter:
- As cooler weather approaches, oxalis may go dormant. Cut back on watering and allow the soil to dry out more than usual. If you live in a region with harsh winters, consider mulching or transferring your plants to pots indoors to protect them.
Common Issues and Tips
- Pests and Diseases: Oxalis is relatively pest-free, but you might encounter aphids or spider mites. A gentle insecticidal soap or neem oil should manage these effectively.
- Yellowing Leaves: This is often a sign of overwatering or poor drainage. Adjust your watering schedule and verify your soil conditions.
- Overcrowding: Every few years, consider dividing the plants to prevent overcrowding, ensuring each has enough room to thrive.
By following these steps and tips, your oxalis plants will not only survive but flourish across the seasons, offering you a low-maintenance yet stunning addition to your garden or home.
Troubleshooting Common Oxalis Planting Issues
Planting oxalis bulbs is a rewarding endeavor, as these charming plants can bring vibrant colors and interesting textures to your indoor or outdoor gardens. Here’s a straightforward guide to help you plant oxalis bulbs successfully, along with tips on troubleshooting common planting issues.
Step-by-step Instructions on How to Plant Oxalis Bulbs
-
Select Healthy Bulbs:
- Choose firm, plump oxalis bulbs without signs of mold or softness. Healthy bulbs increase your chances of successful planting and growth.
-
Timing and Location:
- For outdoor planting, choose the spring or fall, when the soil is cool but not frozen. Indoors, oxalis bulbs can be planted year-round. A sunny window is ideal for indoor plants, while outdoor bulbs thrive in partial to full sun locations.
-
Prepare the Soil:
- Use well-draining soil to prevent waterlogging, which can lead to bulb rot. If your garden soil is heavy or clay-laden, mix it with sand or perlite to improve drainage.
-
Planting Depth and Spacing:
- Plant oxalis bulbs with their pointed side facing up, about 1-2 inches deep. Space them approximately 3-4 inches apart to ensure enough room for growth.
-
Watering Techniques:
- After planting, water the area lightly to settle the soil around the bulbs. Consistent moisture is key, but avoid over-watering. Water the plants when the top inch of soil feels dry.
-
Fertilization and Care:
- Feed the plants with a balanced, slow-release fertilizer once shoots appear. During active growth, maintain regular watering and fertilizing to support lush foliage and blooms.
Troubleshooting Common Issues
-
Bulbs Not Sprouting:
- If your oxalis bulbs do not sprout, they may be dormant. Ensure adequate watering and sunlight, and give them time—sometimes sprouting can take a few weeks, especially with cooler temperatures.
-
Leaf Discoloration or Wilting:
- This could indicate over-watering or inadequate sunlight. Adjust watering schedules and place your plants in brighter locations to promote healthy growth.
-
Pests:
- Oxalis plants attract aphids and spider mites occasionally. Regularly check foliage for signs of pests and treat with insecticidal soap if necessary.
-
Bulb Rot:
- A common problem due to excessive moisture. Ensure proper drainage and reduce watering frequency if you notice mushy bulbs or a foul smell upon inspection.
Additional Tips
-
Indoor vs. Outdoor Planting:
- Indoor oxalis plants benefit from higher humidity, so consider misting them or placing a humidity tray nearby.
-
Seasonal Dormancy:
- Oxalis plants naturally enter a dormancy period after blooming. If leaf dieback occurs, reduce watering and allow them to rest. Fresh growth typically resumes after a few weeks.
By following these guidelines on how to plant oxalis bulbs, you can enjoy a vibrant and healthy display in your garden or home. With proper care and attention, oxalis can thrive and become a beautiful addition to your plant collection.
In conclusion, planting oxalis bulbs is a rewarding and straightforward process that can add a vibrant touch of green to your garden or indoor space. By choosing healthy bulbs, selecting the appropriate planting location with the right light and soil conditions, and providing consistent watering, you set the stage for successful growth and lush blooms. Remember to apply mulch to help retain moisture and consider seasonal cycles, as oxalis often has periods of dormancy.
We encourage you to apply these techniques and create your own lush, thriving patch of oxalis. With patience and care, your bulbs will reward you with beautiful foliage and charming flowers. As a final tip, consider experimenting with different varieties of oxalis to add variety and unique charm to your plant collection, as each species can offer its distinct character and allure. Happy planting!