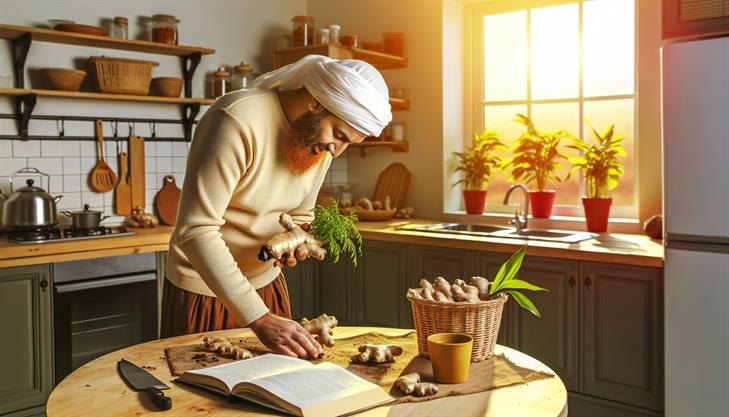
Imagine the comforting aroma of fresh ginger wafting through your home, an exotic scent that transforms your kitchen into a personal sanctuary of wellness and flavor. Growing your own ginger plant indoors not only brings the essence of this beloved spice closer to your daily life but also offers numerous rewards, from culinary versatility to health-boosting benefits. In an era where homemade and homegrown reign supreme, understanding how to cultivate ginger indoors provides a unique opportunity to enhance your green thumb credentials while adding a touch of the tropics to your space. This guide will walk you through the surprisingly simple process of growing ginger indoors, offering tips and tricks to ensure your plant thrives, thereby enriching your home with its natural beauty and your meals with its unmistakable zest. Dive in to transform a store-bought rhizome into a flourishing indoor garden staple that promises year-round freshness and flavor.
Selecting the Right Ginger Root for Planting
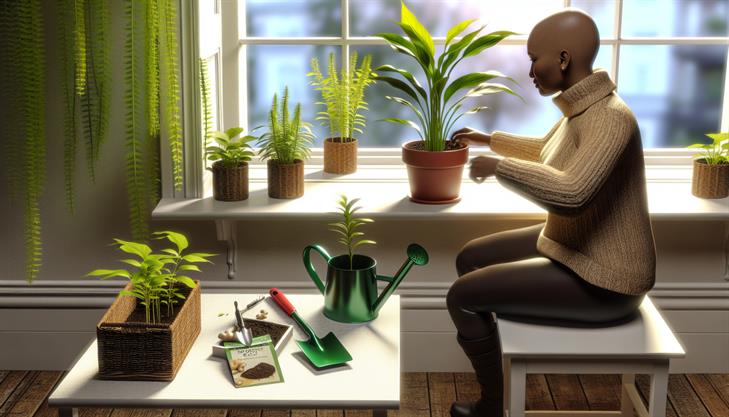
Growing a ginger plant indoors can be a rewarding endeavor that adds both visual appeal and a functional spice source to your home. To successfully cultivate ginger indoors, selecting the right ginger root for planting is crucial. Here’s a detailed guide on how to grow a ginger plant indoors, complete with setup tips, common issues, and additional advice.
Choosing the Right Ginger Root
Start by selecting a fresh, plump ginger root—often referred to as "rhizome"—with tight skin and several visible eye buds, which resemble little bumps on the surface. These buds are future growth points. Avoid ginger that looks shriveled or dry, as it’ll have a harder time sprouting. Organic ginger roots are preferable since they typically haven’t been treated with growth inhibitors.
Preparing the Ginger Root
- Soak the Ginger: Before planting, soak the ginger piece in water overnight. This helps hydrate it and remove any chemicals that might inhibit growth.
- Cut the Rhizome: If your ginger has multiple buds, you might want to cut the ginger into pieces, ensuring each piece has at least one eye bud. Allow the cut surfaces to heal and dry for about 24 hours, which helps prevent rot after planting.
Planting the Ginger
- Select a Container: Choose a wide, shallow pot with good drainage. Ginger roots grow horizontally, so they’ll need more space to spread out rather than deep soil.
- Use Rich Soil: Fill the pot with rich, well-draining potting soil or a mix of potting soil and compost which provides the necessary nutrients for ginger growth.
- Plant the Rhizome: Place the ginger piece(s) horizontally in the soil, with the buds pointing upward. Cover it lightly with about an inch of soil.
Maintaining Indoor Ginger Plants
- Light and Temperature: Ginger thrives in warm, humid conditions with indirect sunlight. A south-facing window can be perfect, but avoid too much direct sun, which can scorch the leaves.
- Watering: Water gently after planting and keep the soil consistently moist, but not waterlogged. Overwatering is a common issue and can lead to root rot.
- Humidity: Since ginger is a tropical plant, consider increasing humidity by misting the plant or placing a tray of water near it.
Troubleshooting and Tips
- Yellow Leaves: This can indicate either too much sunlight or inadequate nutrients. Adjust light exposure or consider supplementing with a balanced, water-soluble fertilizer.
- Pest Management: Keep an eye out for pests such as spider mites. Regularly cleaning leaves with a damp cloth helps prevent infestations.
- Harvesting: Ginger typically takes about 8-10 months to mature. Harvest once the leaves start to die back, which indicates the roots are ready. You can also begin to harvest small pieces of the rhizome around four months after planting, allowing the rest to continue growing.
Additional Advice
- Continuous Harvesting: For a continuous supply of ginger, try the staggered planting method, where you plant new ginger roots every few weeks.
- Winter Care: If you live in a region with less sunlight in the winter, consider using a grow light to ensure your ginger gets enough indirect light.
By following these steps and understanding the unique needs of ginger plants, you can successfully grow your own ginger indoors, providing you with fresh spice for your culinary adventures year-round.
Preparing Your Indoor Environment for Optimal Growth
Growing a ginger plant indoors is a rewarding project that adds a touch of greenery and provides fresh ginger for your culinary needs. Here’s a comprehensive guide on how to grow a ginger plant indoors, ensuring success at every step.
Step 1: Understanding the Basics
Ginger, a tropical plant, thrives in warm and humid climates. For indoor growth, try to replicate these conditions by choosing a well-lit area, maintaining consistent warmth, and ensuring proper humidity levels.
Step 2: Selecting the Right Ginger
When learning how to grow ginger indoors, start with a fresh ginger root (rhizome) from a nursery or grocery store. Look for plump and firm roots with visible eye buds, as these are more likely to sprout.
Step 3: Prepping Your Ginger for Planting
Before planting, soak the ginger root in warm water for 8-12 hours. This encourages growth by removing any chemicals used to inhibit sprouting. For best results, divide the root into segments, ensuring each piece has one or two eye buds.
Step 4: Choosing the Right Container
Select a wide, shallow pot to accommodate ginger’s horizontal growth and ensure it has good drainage. Fill it with rich, well-draining potting soil to support root development.
Step 5: Planting Your Ginger
Gently press each ginger segment into the soil with the eye buds facing upward, about an inch below the surface. Space each piece 6 inches apart if planting multiple segments. Lightly water the soil to keep it moist but not waterlogged.
Step 6: Ensuring Optimal Growing Conditions
Place the pot in a warm spot with indirect light. Aim for temperatures ranging from 70-80°F (21-27°C). To mimic a humid environment, mist the plant regularly or use a humidity tray.
Step 7: Watering and Maintenance
Maintain consistent soil moisture by watering the ginger when the top inch feels dry. Overwatering can lead to root rot, a common issue when growing ginger indoors. Consider using a well-balanced, organic fertilizer every few weeks to nourish your plant.
Step 8: Watching for Growth
In a few weeks, you’ll notice green shoots emerging. As the plant grows, remove any yellowing leaves to encourage healthy development. Keep an eye out for pests like spider mites or aphids, and address them promptly with natural repellents if needed.
Step 9: Harvesting Your Ginger
Ginger takes approximately 8-10 months to mature indoors. When the leaves begin to yellow and die back, it’s ready to harvest. Carefully dig up the plant and trim off the rhizomes, leaving a few pieces with eye buds for future planting.
Additional Tips
- Lighting Challenges: If natural light is insufficient, consider using grow lights to simulate a tropical environment.
- Temperature Variations: Keep your plant away from drafts or sudden temperature changes to avoid stress.
- Companion Growing: Ginger pairs well with other humidity-loving indoor plants such as ferns and orchids, which can help simulate desired growing conditions.
By following these steps on how to grow a ginger plant indoors, you can enjoy a thriving ginger plant and fresh harvests for your spice arsenal. With thoughtful care and maintenance, your indoor ginger garden will flourish year-round.

Planting and Caring for Your Ginger Plant
Growing a ginger plant indoors can be a rewarding experience that adds a touch of nature to your home while also providing you with a supply of fresh, aromatic ginger root. Here’s a comprehensive guide to help you plant, care for, and successfully grow a ginger plant indoors.
Choosing the Right Ginger Root:
Start by selecting a fresh ginger root, also known as a rhizome. For best results, choose organic ginger, as it is less likely to have been treated with growth inhibitors. Look for plump and firm rhizomes with visible ‘eyes’ or growing buds. These will eventually sprout to form the plant.
Planting the Ginger:
-
Prepare the Root:
- Soak the ginger root in warm water overnight to encourage early growth.
- Cut the ginger into pieces, ensuring each piece is at least 1-2 inches long and has at least one eye.
-
Choose a Container:
- Select a wide and shallow pot with adequate drainage holes. Ginger roots grow horizontally, so width is more important than depth.
- Fill the pot with rich, well-draining potting soil. A mixture containing equal parts of compost, sand, and peat moss works well.
-
Plant the Ginger:
- Place the ginger pieces on the soil surface with the buds facing upwards. Cover them lightly with about 1-2 inches of soil.
- Water the soil gently until it is damp but not soaked.
Optimal Conditions for Growth:
-
Light: Position your ginger plant in a spot that receives indirect sunlight. A windowsill with filtered light is ideal. Too much direct sunlight can scorch the leaves.
-
Temperature: Ginger prefers a warm, humid environment, ideally between 75°F and 85°F. Consider using a pebble tray with water to maintain humidity.
-
Watering: Keep the soil consistently moist but not waterlogged. Water lightly, allowing the top layer of soil to dry out between waterings to prevent root rot.
-
Fertilizing: Feed your ginger plant with a balanced liquid fertilizer every few weeks during the growing season for optimum health.
Common Issues:
-
Pests: Watch for pests such as aphids and spider mites. If found, spray the plant with a mixture of water and mild soap solution to manage pest issues.
-
Yellowing Leaves: This could be a sign of overwatering or poor drainage. Ensure the pot has adequate drainage and adjust your watering schedule if necessary.
Harvesting Ginger:
Patience is key when growing ginger. Typically, you can start harvesting ginger root around 8-10 months after planting when the leaves have begun to yellow and die back. Carefully dig around the plant to remove a portion of the rhizome, allowing the rest to continue growing.
By following these steps, you should be able to successfully grow a ginger plant indoors, providing you fresh ginger for your culinary or health needs right from the comfort of your home. With attention to care and optimal growing conditions, your indoor ginger plant will thrive and become a delightful addition to your indoor garden.
Harvesting and Using Your Homegrown Ginger
Growing a ginger plant indoors is a rewarding endeavor that allows you to enjoy fresh ginger year-round. With a few simple steps and some patience, you can have a bountiful supply of this aromatic spice right at home. Here’s a guide on how to successfully grow a ginger plant indoors.
Selecting the Right Ginger Rhizome
Begin by choosing a fresh ginger root, also known as a rhizome, from your local grocery store or garden center. Look for fat, juicy pieces with well-developed growth buds or eyes. Organic ginger is often preferable as it is less likely to have been treated with growth inhibitors.
Soaking the Ginger
Soak the ginger rhizome in water for at least 8-12 hours to remove any potential growth inhibitors and prepare it for planting. This step is crucial for promoting healthy sprouting.
Preparing the Planting Container
Choose a wide, shallow container with good drainage. Ginger root grows horizontally, so a pot that is at least 12 inches deep and wide will accommodate its spreading nature. Ensure the container has drainage holes to prevent waterlogging, which can cause root rot.
Planting the Ginger
Fill the container with rich, well-draining potting soil. Place the rhizome in the soil with the eyes facing upwards about an inch or two from the surface. Cover it lightly with soil, ensuring the buds remain just below the surface.
Creating the Ideal Environment
Ginger thrives in warm, humid conditions with indirect sunlight. Place the pot in a warm area where temperatures remain consistently between 70°F to 85°F (21°C to 29°C). A south or east-facing window is ideal. To maintain humidity, regularly mist the leaves or place a tray of water near the plant.
Watering and Fertilizing
Water the ginger plant thoroughly but allow the soil to dry slightly between watering to prevent waterlogging. Ginger prefers moist, but not soggy, soil. Use a balanced organic fertilizer every 3-4 weeks to support growth. Avoid over-fertilizing, as this can damage the plant.
Common Issues and Troubleshooting
Pests: Indoors, ginger plants can occasionally attract spider mites. Regularly inspect the leaves and use neem oil or insecticidal soap if necessary.
Yellowing Leaves: Often a sign of overwatering, ensure that your ginger plant is not sitting in excess water and that the pot has adequate drainage.
Slow Growth: If growth seems stunted, it might be due to low temperatures. Make sure your plant has access to enough warmth and humidity.
Harvesting Your Ginger
After about 8-10 months, your ginger should be ready for harvest. The leaves will start to yellow and die back, indicating maturity. Carefully dig up the entire rhizome, breaking off a section to use while replanting the remaining piece in fresh soil for a new crop.
Final Tips
- Rotate the ginger pot every few days to ensure even sun exposure.
- If space allows, consider setting up a small indoor greenhouse to create the ideal warm and humid environment.
Growing a ginger plant indoors is not only practical but also deeply satisfying. With appropriate care and attention, your ginger plant will thrive, providing you with fresh, aromatic ginger whenever you need it.
Troubleshooting Common Ginger Plant Issues Indoors
Growing a ginger plant indoors is a rewarding and feasible endeavor, even for those without a green thumb. The spicy root is not only a culinary delight but also an attractive addition to your indoor plant collection. Here’s a comprehensive guide with step-by-step instructions to help you grow ginger indoors successfully.
Selecting the Right Ginger Rhizome
Start by selecting a healthy organic ginger root from a garden center or grocery store. Look for a plump rhizome with smooth skin and several eye buds. Avoid those that appear shriveled or moldy.
Preparing the Ginger for Planting
- Soak the Rhizome: Begin by soaking the ginger root in warm water overnight, which helps remove any growth inhibitors and encourages sprouting.
- Cut Into Pieces: Cut the rhizome into pieces, ensuring each segment has at least one eye bud. This allows for multiple plants to grow from one root.
Choosing the Right Pot and Soil
- Pot Selection: Opt for a wide, shallow pot as ginger grows horizontally. Make sure it has adequate drainage holes to prevent waterlogging.
- Soil Requirements: Fill the pot with well-draining, rich potting soil. A mix with organic compost can provide the nutrients necessary for healthy growth.
Planting the Ginger
- Plant the Rhizome: Lay the ginger pieces horizontally in the pot with the bud eyes facing up. Cover with 1-2 inches of soil.
- Watering: Water lightly to moisten the soil. Consistent moisture is key, but avoid overwatering to prevent rot.
Optimizing Indoor Conditions
- Light: Place the pot in a spot that receives indirect sunlight, such as a north-facing window. Direct sunlight can scorch the leaves.
- Temperature: Maintain a warm environment around 75°F (24°C). Ginger thrives in humidity, so consider using a pebble tray or humidifier during dry months.
Care and Maintenance
- Watering Schedule: Water sparingly but steadily, ensuring soil remains slightly damp.
- Feeding: Fertilize every 4-6 weeks with a balanced liquid fertilizer to promote growth.
Common Issues and Solutions
- Yellowing Leaves: Can be a sign of overwatering or poor drainage. Adjust your watering schedule and check for proper drainage.
- Pest Control: Watch for spider mites and aphids. Keep the plant clean using a gentle stream of water or natural insecticidal soap.
Harvesting Ginger Indoors
Ginger can be harvested after 8-10 months. When the leaves start to turn yellow and die back, it’s a sign that the rhizomes are ready to harvest. Carefully dig up the rhizome, taking what you need and allowing the rest to continue growing.
By following these steps, growing a ginger plant indoors can not only enhance your culinary adventures but also add a vibrant decorative element to your home. With the right care and attention, your ginger plant will thrive and provide you with fresh ginger for many recipes and DIY projects.
In conclusion, growing a ginger plant indoors can be a rewarding and aromatic experience, perfect for both novice and seasoned gardeners. By selecting fresh, healthy rhizomes and planting them in well-draining soil, you set the foundation for successful growth. Remember the importance of providing your ginger plant with a warm, humid environment and indirect sunlight to mimic its natural habitat. Consistent watering and occasional fertilization will further encourage strong and healthy development.
As you nurture your indoor ginger plant, you’ll not only enjoy its lush foliage but also the culinary benefits of harvesting your very own rhizomes. Embrace the journey and experiment by using these home-grown ginger roots in your favorite recipes to add a fresh, vibrant flavor.
A final recommendation: Consider rotating your plant every few weeks to ensure even growth and exposure to light from all directions. This simple practice will help your ginger plant grow straighter and more aesthetically pleasing, adding a touch of natural beauty to your indoor space. Now, equipped with these insights, it’s time to get your hands dirty and start cultivating your own indoor ginger garden!